
Date: 07/18/2020
How set up your Zebra printer
In the previous post we learned what a zebra printer is and the differences between it and a regular printer. We also spent some time learning about labels and their properties.
In this post we’ll teach you how to set up your zebra printer and begin making custom labels.
The same info can be found in this video:
https://www.youtube.com/watch?v=6m2isJwFrEM
Step 1 – Printer Installation
Before you turn on the computer, please install the ribbon into the printer and perform the calibration according to the manufacturer’s instructions.
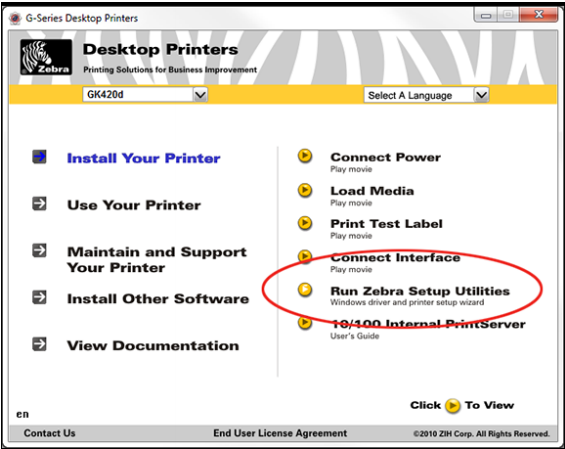
Step 2 – Software Installation
Insert the CD that came with your printer and open it. If prompted, choose your printer, then the option to “Install Other Software” and then “Install Zebra Setup Utilities”.
Download link here
Step 3 – Calibration
For the initial calibration please go to the Dashboard and click on “Settings”. Under the “Printer Label” option you can define the size of your labels. Then “Click to Test” to check the printer calibration.
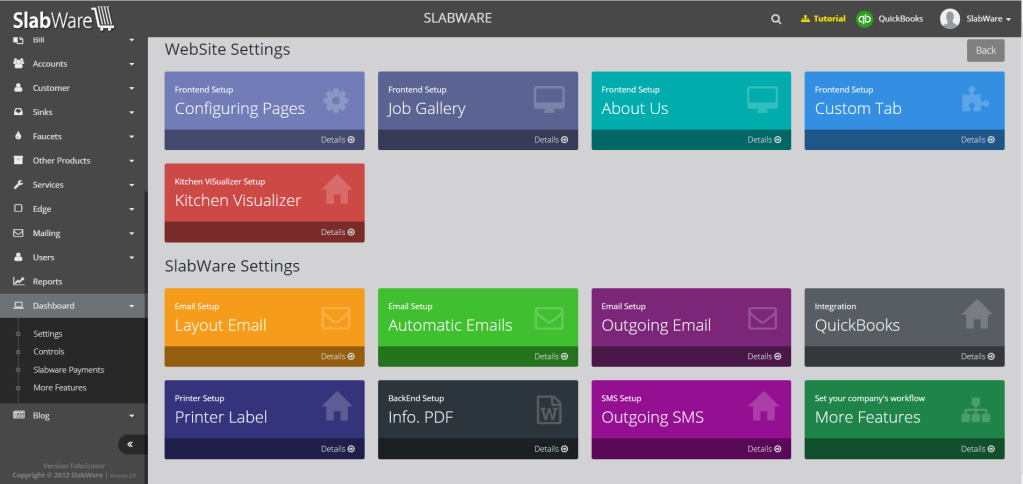
Go to dashboad and click on Settings. There will be an option called “Printer Label”
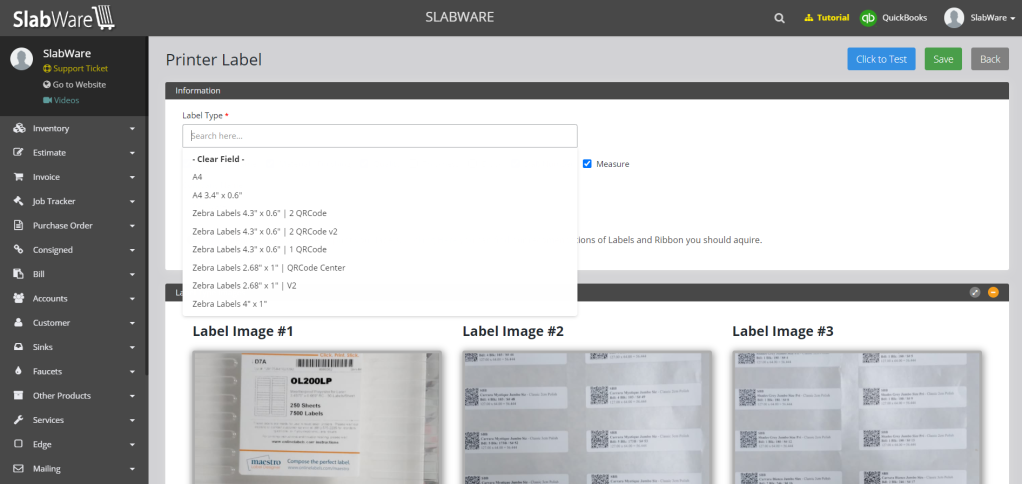
Now you will choose your type of label and click on “Click to test”
Step 4 – Selecting the material you want to label
In your system backend under “List of Bundles” is an option to generate a .TXT file for any slab in your inventory. Use the filters to find the particular bundle that you want.

Once you find the bundle you want, go to the list of slabs and click on “Actions”. There you’ll find an option to “Print Label”. Select as many slabs as you want and SlabWare will generate the .TXT file we can use in the next step. on that. You can select as many slabs as you can. The software will generate a .txt file.?
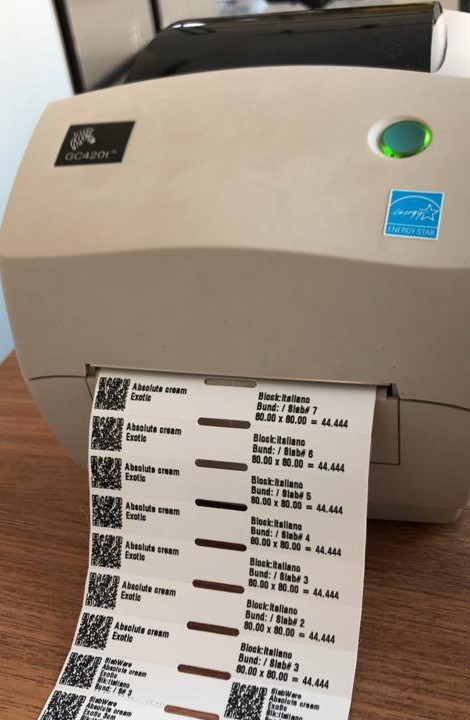
Step 5 – Printing the downloaded file
Open the Zebra Setup Utilities program we installed earlier and then select the “Open Printer Tools” option.
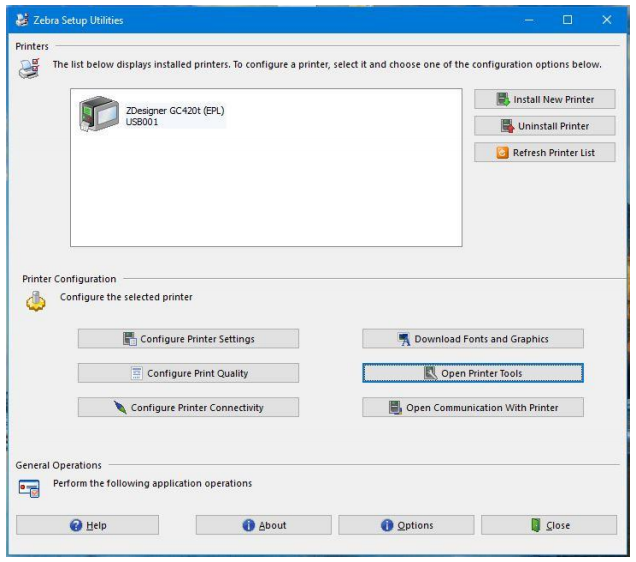
Select the “Action” tab and then the “Send File” option. Choose the .TXT file you downloaded in the last step and select “Send”.
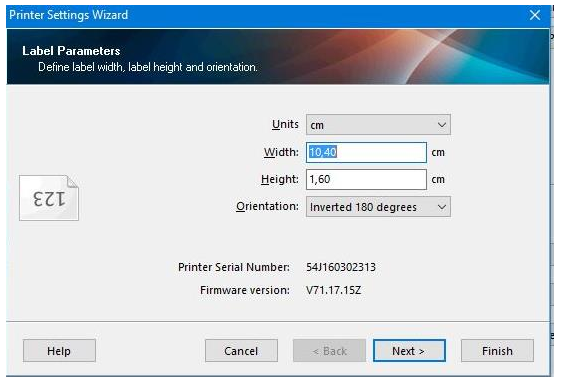
Note: If the printing works but is poorly aligned then you’ll need to configure your printer settings and select the correct dimensions for label height, width, and orientation.
Note: See the photos below as an example of a 0.6” x 4.3” label.

That’s It! You’re all done and your printer is ready to use.
If you still have questions about this process click here and schedule a call with our team. But If you still have questions about this process click here to schedule a call with one of our team members. We’ll do our best to help you but we are NOT Zebra professionals — we just recommend its use. For some errors we’ll need to refer you to the Zebra support team.?