
Date: 11/20/2020
Watermark Feature
How to watermark your photos in SlabWare
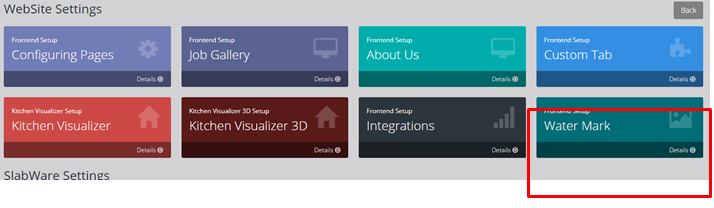
First of all, go to Dashboard ->Settings ->Water Mark
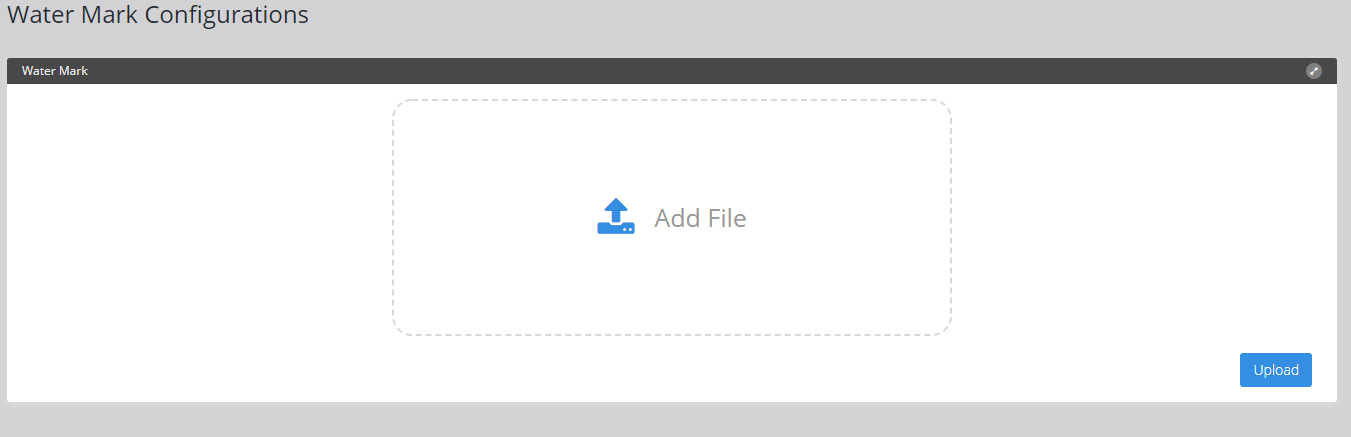
Next, click on add file to upload your watermark. Make sure it´s a transparent background PNG file.
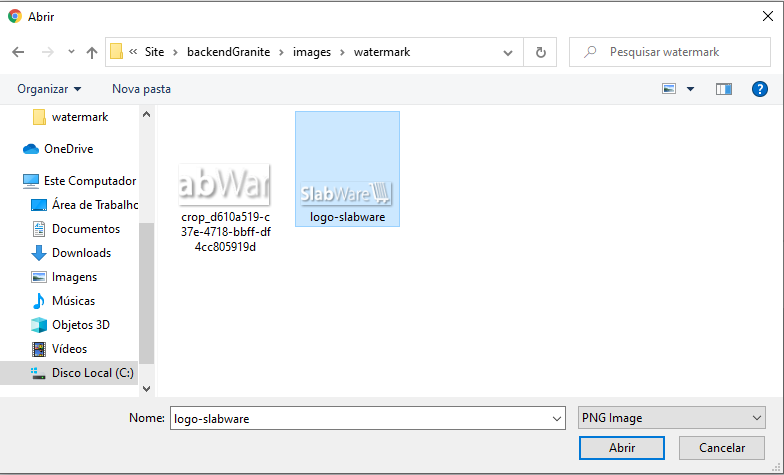
 This box will open up so you will be able to choose the file.
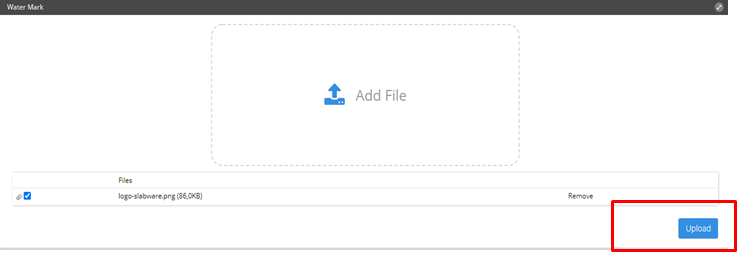
 Click upload to edit the image.
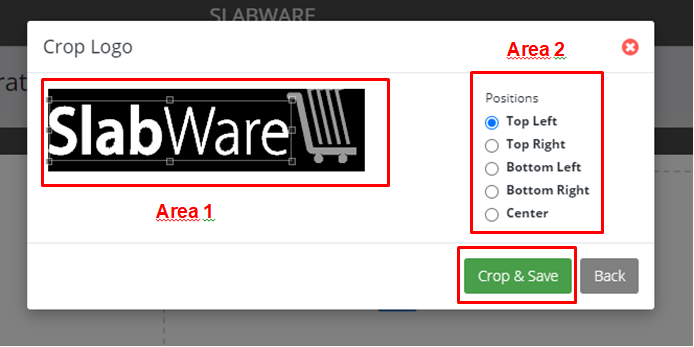
The edit box will allow you to crop the watermark and move it to the best position on the photo.
The first area sets the size of the watermark. The second area sets the position of the watermark on the photo.
Next, simply click on crop and save.
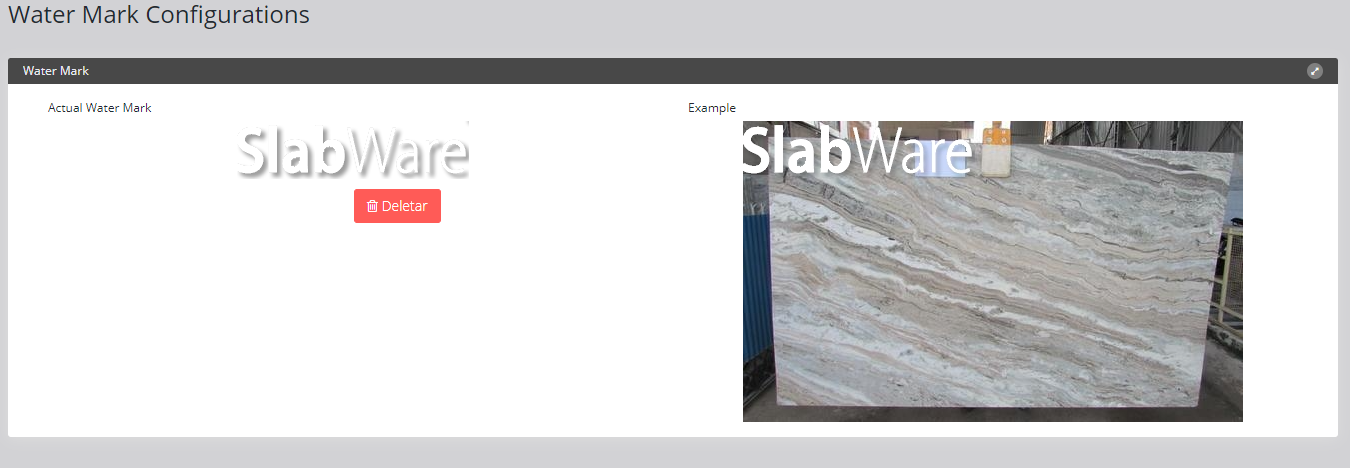
After you've edited the watermark, You will be able to see a preview.
On the left side is where you will see the watermark preview. A delete button is there in case you've made an error.
On the right side is where you will see the preview of the watermark position on the photo.
 If the image needs to be redone click the delete button. You will be redirected to the add and upload page once again.